Introduction to GIMP 3
GIMP (GNU Image Manipulation Program) has long been a standard tool for graphic designers, photographers, and digital artists. With the release of GIMP 3, users have encountered a more powerful and user-friendly experience, packed with features to help edit and manipulate images more efficiently. Cropping is one of the most fundamental yet essential techniques in image editing, and mastering it can significantly enhance your photo manipulation skills. This blog post will take you through a step-by-step guide on how to crop images using GIMP 3, along with some tips that might surprise you.
Getting Started with GIMP 3
Before you dive into cropping images, ensure that you have GIMP 3 installed on your computer. It is available for multiple operating systems, and you can download it from the official GIMP website. Once installed, open the application and load the image you wish to crop. You can do this by navigating to File > Open, or simply drag and drop the image onto the GIMP workspace.
The Crop Tool: Your Best Friend
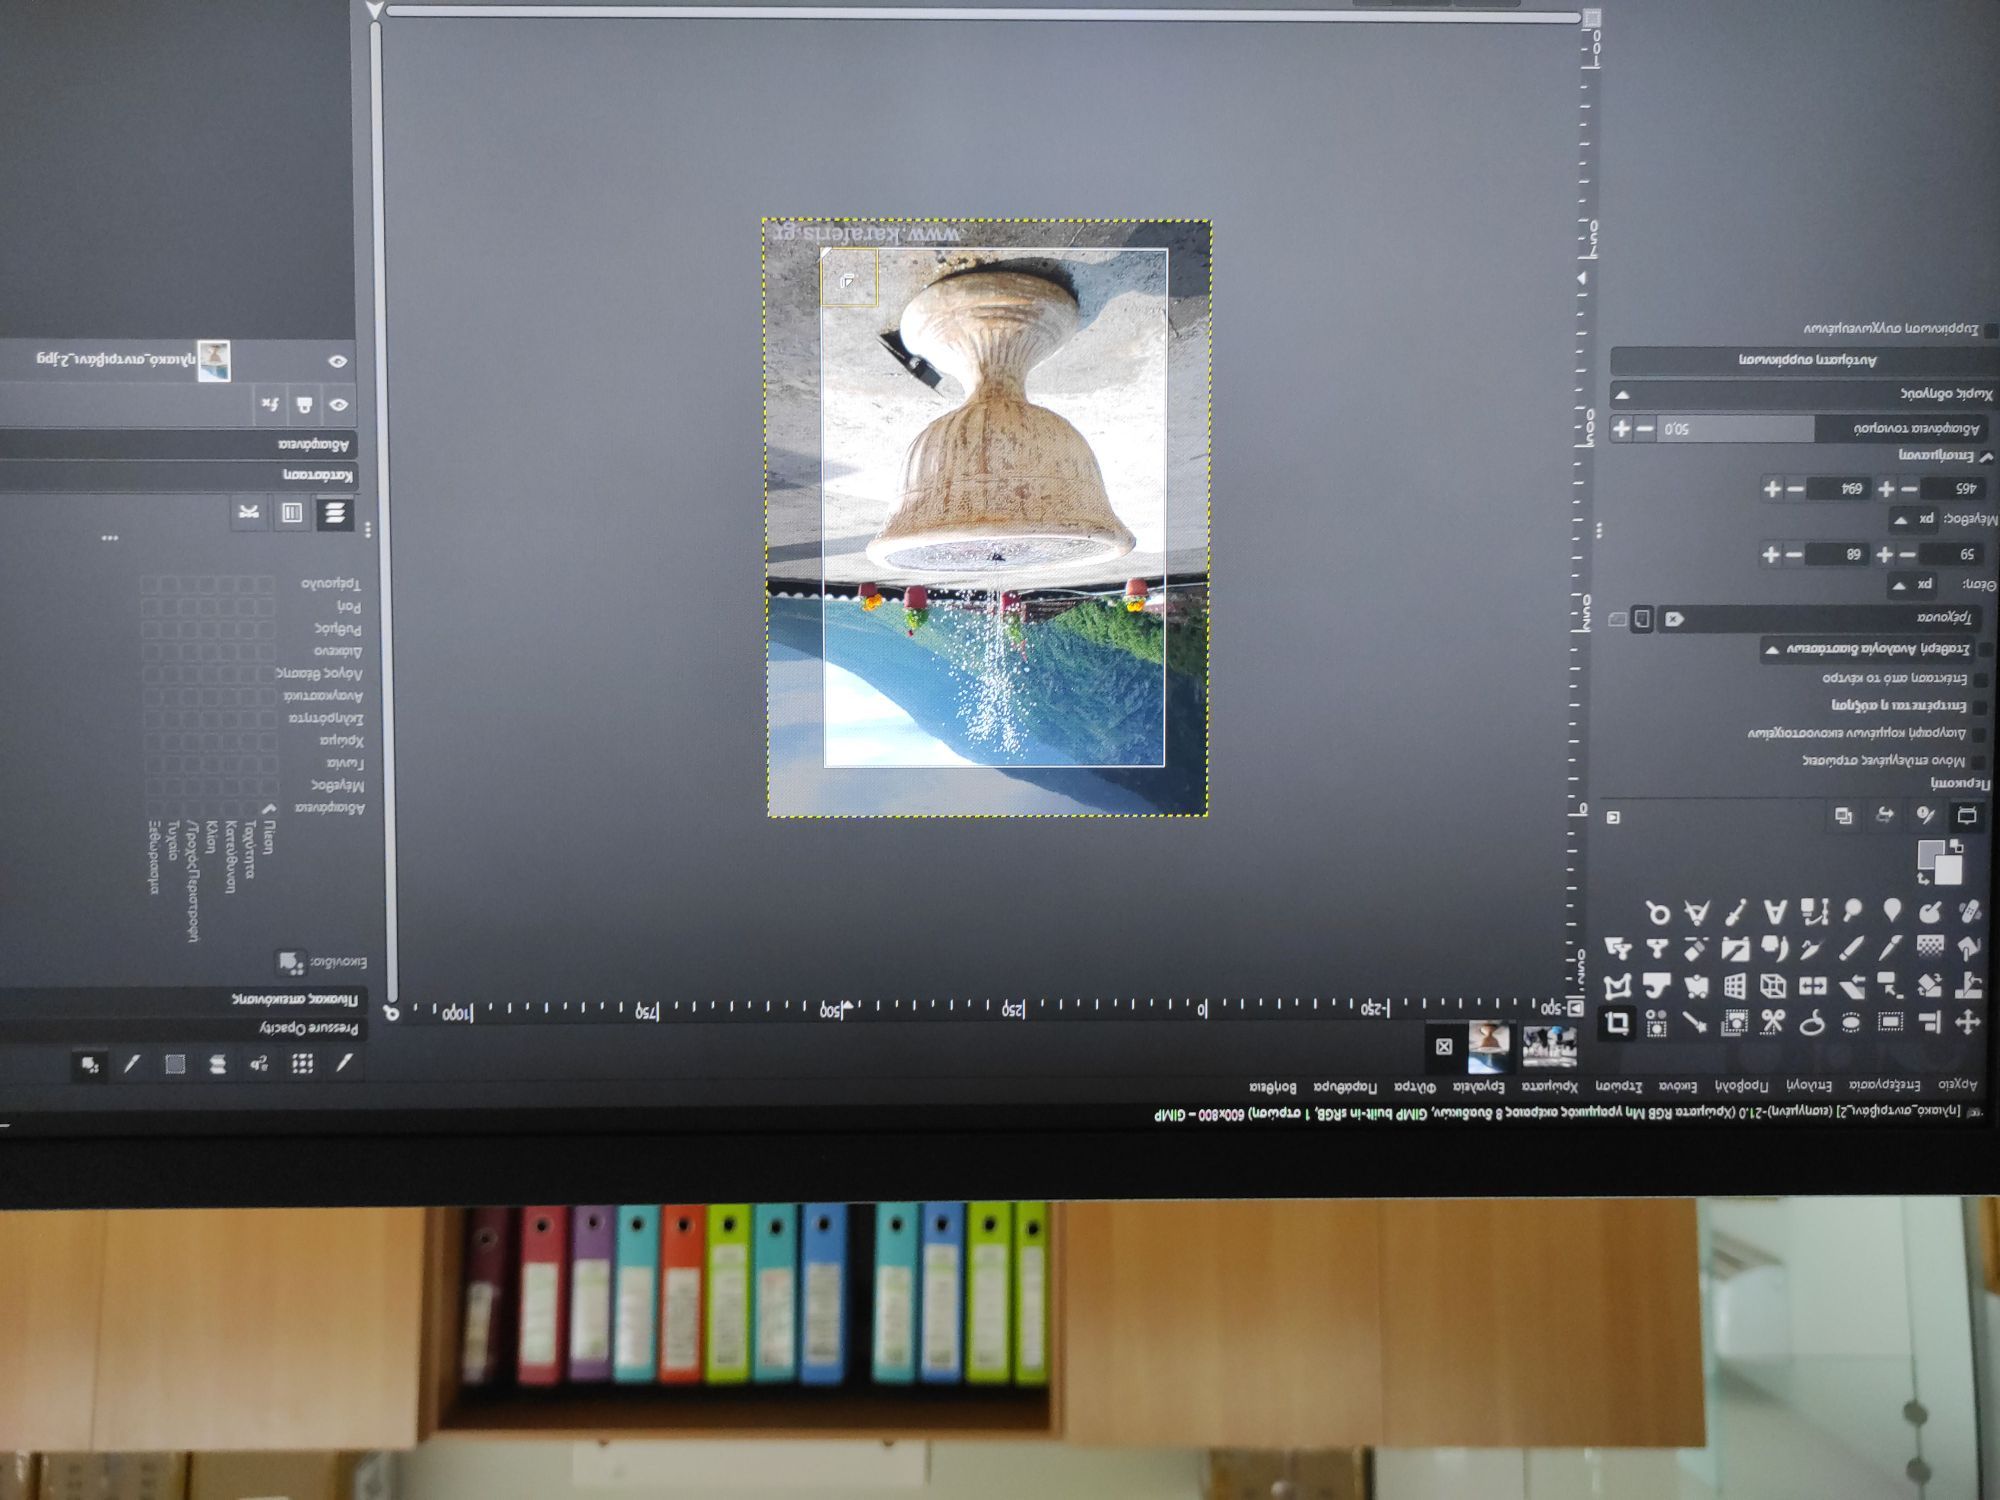
To crop images in GIMP 3, you’ll need to familiarize yourself with the Crop Tool. You can find the Crop Tool in the toolbox, which is typically located on the left side of the workspace. Look for an icon that resembles a scalpel; it’s the Crop Tool. You can also activate it by pressing the shortcut key “Shift + C.”
Once the Crop Tool is selected, click and drag your cursor over the image to create a rectangular selection. This selection will guide the area of the image you want to keep. You can adjust the selection by dragging the corners or edges of the rectangle. It’s essential to ensure that the area you want to keep is well defined; anything outside this box will be removed after executing the crop.
Refining Your Crop
One of the new features in GIMP 3 is the enhanced selection handles. Once you’ve created your crop selection, you can refine it further by utilizing options available in the tool options dock, typically found below the toolbox. Here, you can lock the aspect ratio, change the size of your selection, and even reposition the crop rectangle with improved precision.
To maintain a specific aspect ratio (like 4:3 or 16:9), simply check the “Fixed” option, then select the desired ratio from the drop-down menu. This little trick ensures that your images look professional and visually appealing.
Executing the Crop
After you’re satisfied with your selection, it’s time to make the crop permanent. To do this, either hit the “Enter” key or go to the menu and select Image > Crop to Selection. Voila! Your image is now cropped to your specifications.
However, if you accidentally crop out an important part of your image, don’t worry! GIMP has an “Undo” feature that allows you to revert changes. You can easily undo your last action by pressing “Ctrl + Z.”
Exploring Alternative Cropping Options
In addition to the traditional cropping method, GIMP 3 offers several other cropping methods worth exploring. For those who prefer a more precise and controlled approach, consider using the “Rectangle Select Tool” or the “Path Tool” to create custom shapes for cropping.
To use the Rectangle Select Tool, select it from the toolbox, draw the selection, and then follow the same procedure to crop as described above. For the Path Tool, click to create points along the outline of the shape you want to define, then convert the path to a selection.
A Tip You Might Not Know
Here’s a less-known tip that can elevate your GIMP cropping skills: Utilize guides! GIMP allows you to add guides for precise alignment. You can do this by navigating to Image > Guides > New Guide (by Percent) to create horizontal or vertical guides at specific percentages of the image size. This addition can help in creating symmetrical crops, particularly useful for creating thumbnails or social media images that require precise alignment.
Conclusion
Cropping images is an essential skill for any budding digital artist, and GIMP 3 has made this process easier and more intuitive than ever. By employing the Crop Tool, refining your selection, and exploring alternative methods, you can effortlessly create stunning images that are well-framed and professional. And don’t forget the power of guides; they can enhance your workflow tremendously. Whether you are a novice or an experienced user, mastering cropping techniques in GIMP 3 will elevate your photo editing projects to the next level. Happy cropping!