Introduction to Inkscape and Its Geometry
Inkscape is a powerful open-source vector graphic editor, perfect for creating and editing scalable vector graphics (SVG). Its intuitive interface and robust toolset make it an excellent choice for beginners and seasoned professionals alike. One of the foundational skills in mastering Inkscape is understanding how to use basic shapes effectively. In this blog post, we’ll explore the various shapes available in Inkscape, how to manipulate them, and how you can blend them to create intricate designs.
Getting Started with Basic Shapes in Inkscape
When you first open Inkscape, you’ll notice a vertical toolbar on the left side of the screen that features various shape tools. These include rectangles, ellipses, stars, and polygons. To start using these shapes, simply select one of the shape tools and click and drag on the canvas to create your desired shape.
You can customize these shapes by adjusting their properties in the tool options bar, located just above the canvas area. Here you can modify attributes such as fill color, stroke color, and stroke width to fit the aesthetic of your design.
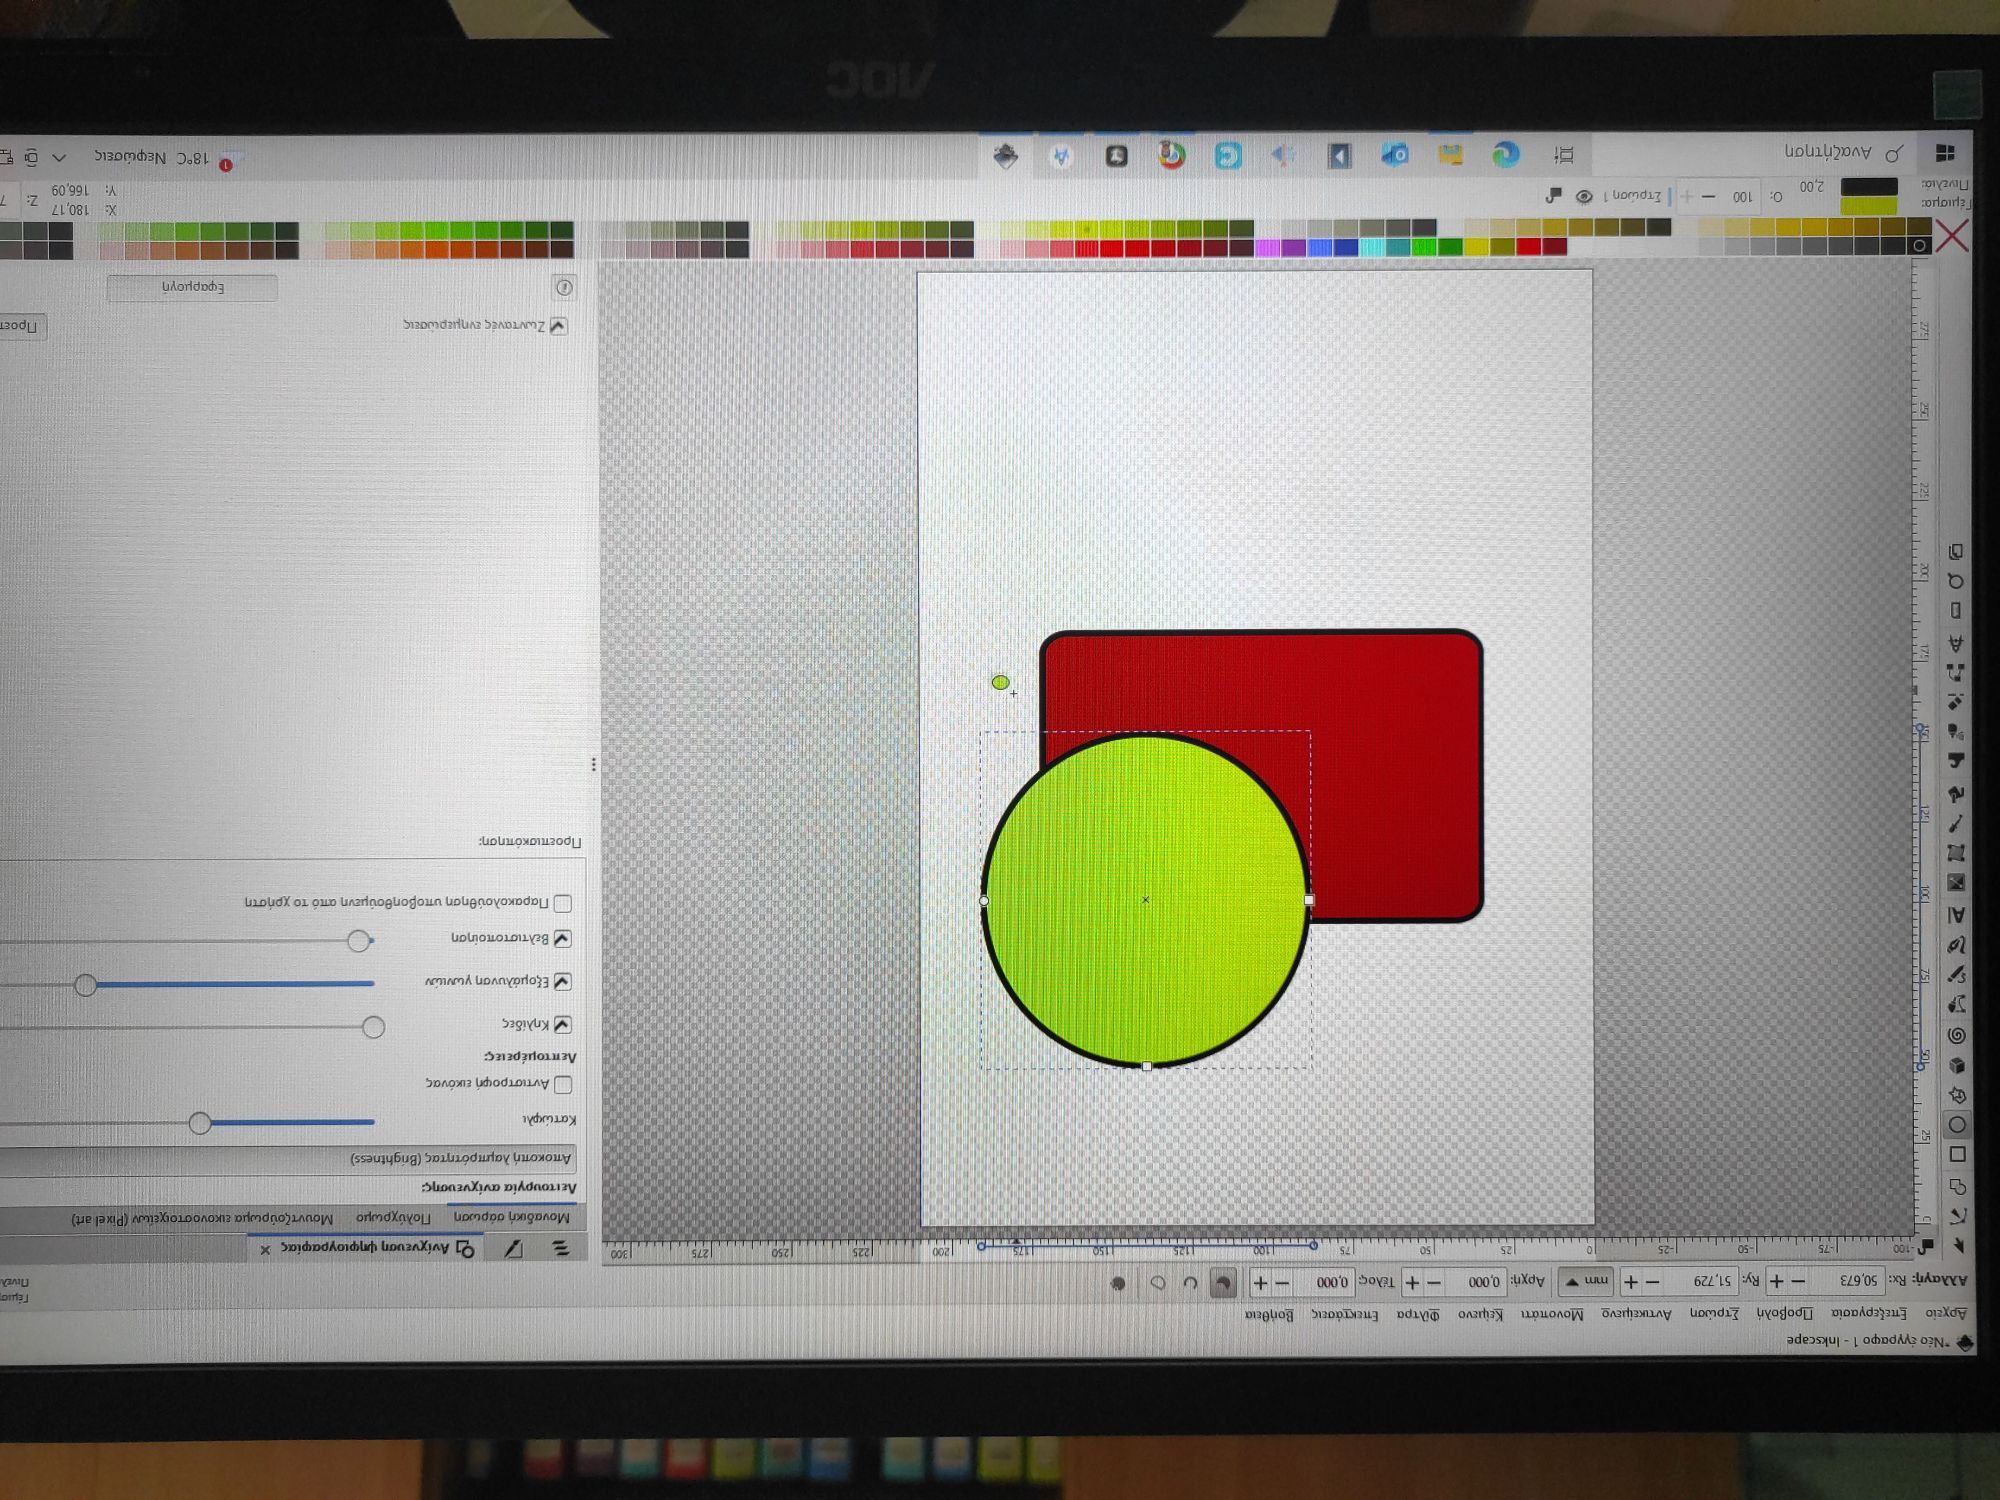
Working with Rectangles and Squares
The rectangle tool is one of the most commonly used shapes in graphic design. In Inkscape, you can create both rectangles and squares. To create a square, simply hold down the “Ctrl” key while dragging your mouse.
Additionally, Inkscape allows you to round the corners of your rectangles easily. In the rectangle tool’s settings, you will find a “Rx” option that lets you adjust the corner radius. This feature is particularly helpful when you’re looking to create buttons or softer, more welcoming designs.
Exploring Ellipses and Circles
The ellipse tool works similarly to the rectangle tool but with curves instead of straight edges. Like with rectangles, holding the “Ctrl” key while dragging will create a perfect circle.
To further customize your ellipses, you can adjust the aspect ratio, fill, and stroke properties just as you would with rectangles. These shapes are particularly useful for creating logos, icons, or even background elements in your designs.
Creative Use of Stars and Polygons
Stars and polygons can add a fresh flair to your designs, especially when you want to create more intricate or decorative elements. The stars tool allows you to define the number of points and the spoke ratio to suit your design needs. This is particularly useful for creating logos or infographics that require a more playful touch.
Polygons can also be customized extensively. You can change the number of sides, create angular shapes, or even combine polygons with other shapes to craft unique designs. A tip for combining shapes is to use the “Path” menu to merge, difference, or intersect shapes, enabling you to create complex graphics from multiple base shapes.
Grouping and Duplicating Shapes
One of the most useful techniques when working with basic shapes is the ability to group and duplicate them. Situations often arise where you might want to replicate a shape multiple times. By selecting a shape and pressing “Ctrl+D,” you can quickly duplicate it. Grouping shapes can also make it easier to manage your designs. To group selected shapes, use the shortcut “Ctrl+G.” This makes it simple to move or scale multiple shapes as one unified object.
Applying Transformations to Shapes
Inkscape offers several transformation options that can enhance the visual impact of your basic shapes. You can rotate, scale, shear, or flip shapes using the Transform menu (found under the ‘Object’ header). Being able to transform shapes allows you to create dynamic compositions and layouts that draw the eye.
Additionally, you can align and distribute items along the x or y axis using the “Arrange” menu, which can help ensure that your designs are balanced and visually appealing.
A Less Known Tip: Utilizing Layers for Organized Design
While many users may already be familiar with using shapes in Inkscape, a less-known but incredibly effective technique is utilizing layers. Layers help you manage complex designs by separating different elements, allowing for easier manipulation. To create a new layer, go to the “Layers” menu and select “Add Layer.” By organizing shapes into different layers, you can enable or disable visibility for specific elements without affecting the entire composition. This is particularly useful when working on multi-faceted projects like posters or infographics, as it allows for a cleaner and more organized workspace.
Conclusion
Basic shapes are the building blocks of design in Inkscape, serving as essential components for creating anything from simple icons to complex illustrations. Familiarizing yourself with the shapes available, along with their properties and transformations, can significantly enhance your graphic design workflow. Don’t hesitate to experiment with grouping, duplicating, and using layers—these techniques will streamline your process and add a level of professionalism to your creations. Whether you’re creating artwork for personal enjoyment or professional projects, mastering these basic elements in Inkscape will undoubtedly take your designs to the next level. Happy designing!